Easy Installation of Our Floor Tiles: A Step-by-Step Guide
Posted by Daniel Bühler on
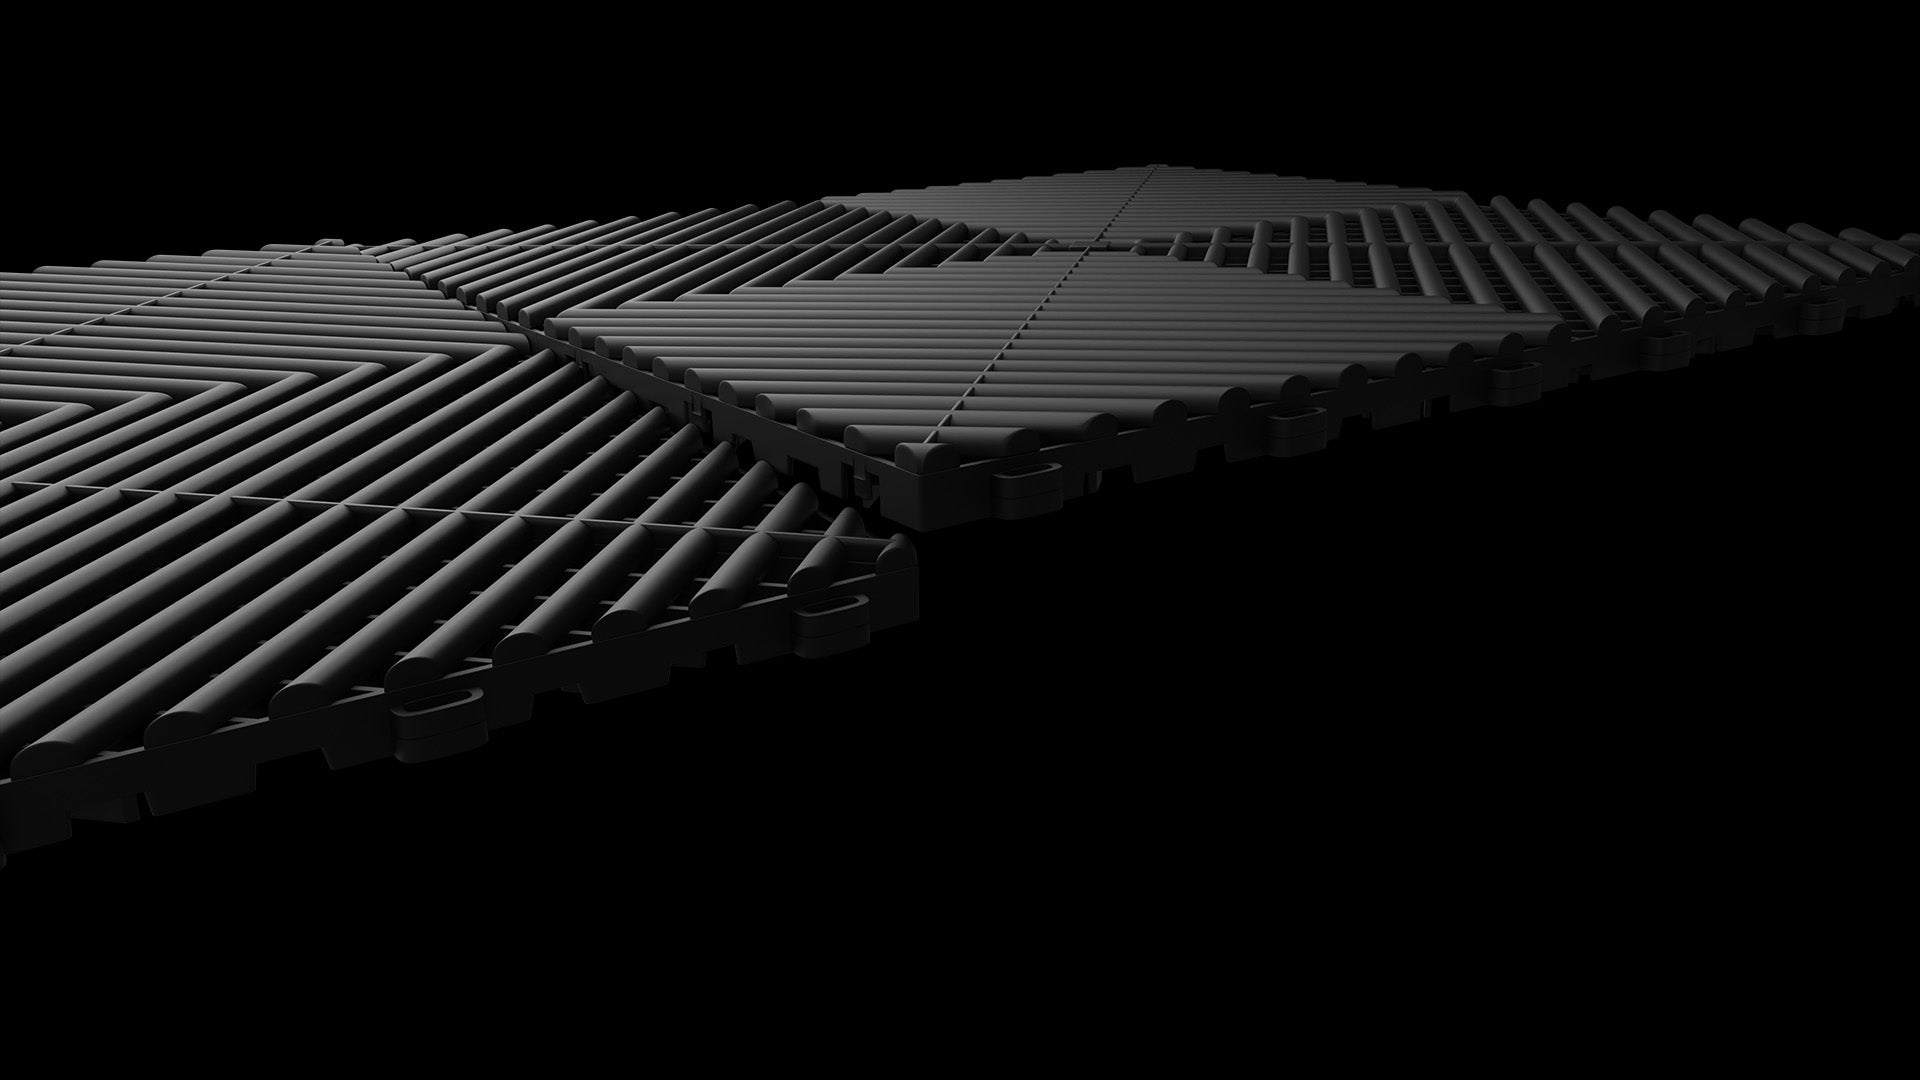
If you are looking for a quick, easy way to renew your flooring without sacrificing quality and aesthetics, our floor tiles are for you. Our products are characterized by their easy installation, which takes place without any preparatory work, adhesives or screws. In this blog post, we show you how to install our floor tiles yourself in just a few steps. Whether you want to beautify your home or make your work area practical, follow our simple guide to achieve a perfect result.
### What you need:
- Our high-quality floor tiles
- tape measure
- Pencil or marker
- Jigsaw, circular saw or laminate cutter (depending on your preferences and what you have available)
- Ruler or long ruler for straight cuts
- Hearing protection and safety glasses (when using electric saws)
### Step 1: Room preparation
Before you begin, make sure the floor is clean, dry and level. Our tiles can be installed on most surfaces without the need for any special preparation. Remove dust, dirt and other residue to ensure optimal adhesion.
### Step 2: Planning
Measure the room and plan the layout of your tiles. It's a good idea to do a dry layout first by laying the tiles on the floor without finally joining them. This way you can make sure the end result is what you want and make adjustments if necessary.
### Step 3: Lay the first tile
Start in one corner of the room and work outward, making sure the tiles click together firmly to create a stable and even surface.
### Step 4: Cutting tiles
When you get to the edge of your room, you will probably need to cut some tiles to make them fit. Mark the cutting line on the tile with a pencil or marker. Use a jigsaw, circular saw or laminate cutter to cut the tile along the marked line. Don't forget to wear appropriate safety equipment such as hearing protection and safety glasses when cutting.
### Step 5: Complete the room
Continue laying and cutting tiles until the entire floor is covered. The last few tiles may be a little more difficult to fit, especially if space is limited. If necessary, use a rubber mallet to gently tap the tiles into place.
### Step 6: Completion
Once all the tiles are laid, do a final walk-through to make sure everything is firmly connected and level. Now you can put the furniture back in the room and enjoy your new floor.
### Conclusion
Installing our floor tiles is a simple and effective way to give any room a new look. Thanks to the simple click connection and the ability to cut the tiles without the need for special tools or expertise, you can complete your project in a day. Whether you're a DIY enthusiast or installing floor tiles for the first time, our products offer a practical and attractive solution that will transform your home or workplace.


